ADVERTISEMENT
Prepare the Base Layer
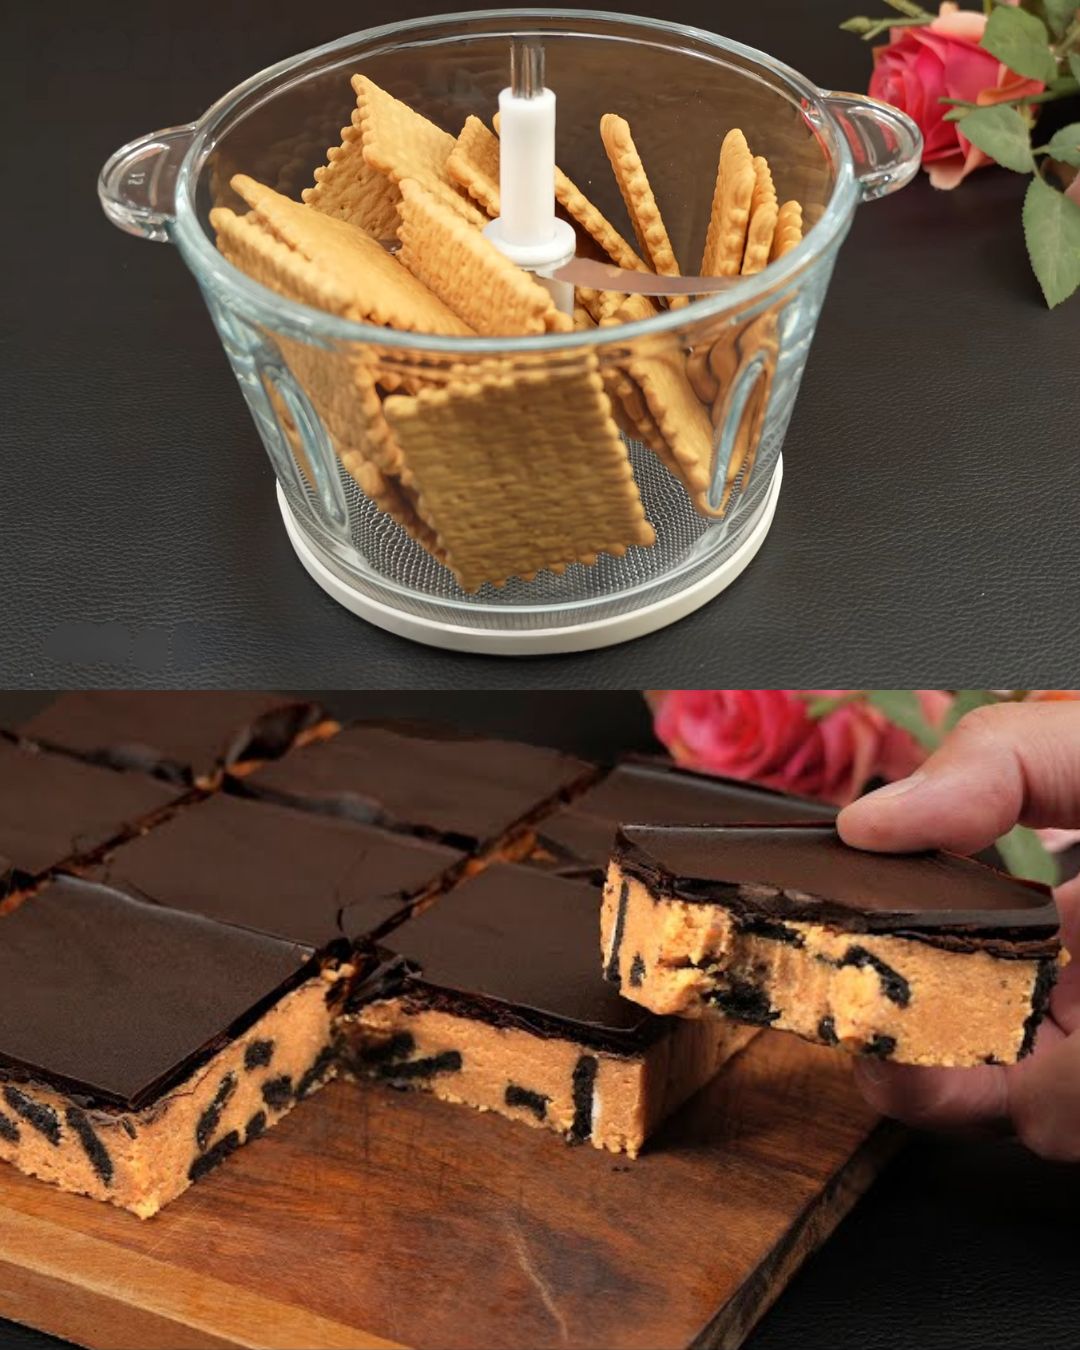
Crush the Biscuits: Place the butter biscuits in a food processor and blitz until they form a fine powder. Alternatively, place them in a zip-lock bag and crush them with a rolling pin.
Mix the Ingredients: In a large mixing bowl, combine the crushed biscuits, icing sugar, melted butter, milk, and cracked Oreo cookies. Mix well until all the ingredients are evenly incorporated. The mixture should have a wet, sandy texture.
Shape the Base: Line a 20×20 cm baking pan with parchment paper. Press the biscuit mixture firmly into the pan, ensuring an even layer. Use the back of a spoon or a flat spatula to smooth the surface.
2. Add the Chocolate Topping
Melt the Chocolate: Break the dark chocolate into pieces and melt it in a steam bath (double boiler). Stir occasionally to ensure a smooth consistency. Add the vegetable oil and mix until glossy and pourable.
Pour the Chocolate: Evenly pour the melted chocolate over the biscuit base. Use a spatula to spread it out if needed.
3. Set the Bars
Chill the Dessert: Place the pan in the refrigerator for 2–3 hours, or until the chocolate is fully set and firm to the touch.
Slice and Serve: Once set, remove the dessert from the pan by lifting the parchment paper. Cut into bars or squares using a sharp knife. Serve chilled and enjoy!
Prep Time
20 minutes
Chill Time
2–3 hours
Total Time
3 hours 20 minutes
Servings
16 bars
Calories per Serving
Approximately 180 kcal
Why This Recipe is Timeless
Chocolate Oreo Biscuit Bars are a timeless dessert because they celebrate the universal love for chocolate and cookies. Their no-bake nature makes them accessible and quick, appealing to people of all ages and skill levels. These bars are endlessly adaptable—you can swap in different types of biscuits, experiment with flavored chocolates, or add nuts and dried fruits for a personal touch.
Moreover, their rich flavor and satisfying crunch make them a perfect treat for any occasion. Whether it’s a casual snack, a party dessert, or a sweet gift for loved ones, this recipe embodies versatility and indulgence. It’s a dessert that never goes out of style!
Nutrition Facts (Per Bar)
Calories: 180 kcal
Protein: 2 g
Fat: 10 g
Carbohydrates: 22 g
Sugar: 15 g
Fiber: 1 g
FAQs
1. Can I use milk chocolate instead of dark chocolate?
Yes, milk chocolate can be used if you prefer a sweeter topping. Adjust the sugar in the base layer if needed.
2. Can I make this gluten-free?
Absolutely! Substitute the butter biscuits with gluten-free biscuits or cookies for a gluten-free version.
3. How do I store the bars?
Store the bars in an airtight container in the refrigerator for up to 7 days.
4. Can I freeze these bars?
Yes, these bars freeze well. Wrap them tightly in plastic wrap and store in a freezer-safe container for up to 2 months. Thaw in the refrigerator before serving.
Tips for Perfect Chocolate Oreo Biscuit Bars
Crush Biscuits Thoroughly: Fine crumbs ensure the base holds together without crumbling.
Press Firmly: Compress the biscuit mixture tightly into the pan for a solid, even base.
Use High-Quality Chocolate: The chocolate topping is a key element, so choose a brand you love for the best flavor.
Customize the Recipe: Add nuts, dried fruits, or a layer of caramel between the base and chocolate for an extra indulgent treat.
Slice Carefully: Use a sharp knife heated with warm water to make clean cuts without cracking the chocolate topping.
Storage Tips
Refrigerate: Keep in an airtight container for up to 7 days. Separate layers with parchment paper to prevent sticking.
Freeze: These bars can be frozen for up to 2 months. Wrap individually for easy grab-and-go treats.
Serve Chilled: These bars taste best when served cold, as the chocolate remains firm and the base holds its structure.
Conclusion
Chocolate Oreo Biscuit Bars are a perfect example of how simplicity can lead to something truly extraordinary. These bars blend rich flavors and satisfying textures, making them a go-to dessert for any occasion. The process is straightforward, yet the results are nothing short of spectacular. Whether you’re enjoying them as a sweet snack, serving them at a party, or sharing them with loved ones, these bars never fail to delight.
One of the most remarkable aspects of this recipe is its adaptability. You can make it your own by experimenting with different flavors and ingredients—try adding crushed pretzels for a salty twist, a drizzle of caramel for extra sweetness, or even a layer of peanut butter for a richer taste. Each variation brings a new dimension to these already amazing bars, ensuring you’ll never get bored of making them.
What makes these bars truly special is the way they bring people together. Imagine sharing a platter of these with friends over coffee or surprising your family with a homemade treat after dinner. These moments of connection are what make recipes like this timeless. They aren’t just about the food—they’re about creating memories and sharing love through something as simple as a dessert.
