ADVERTISEMENT
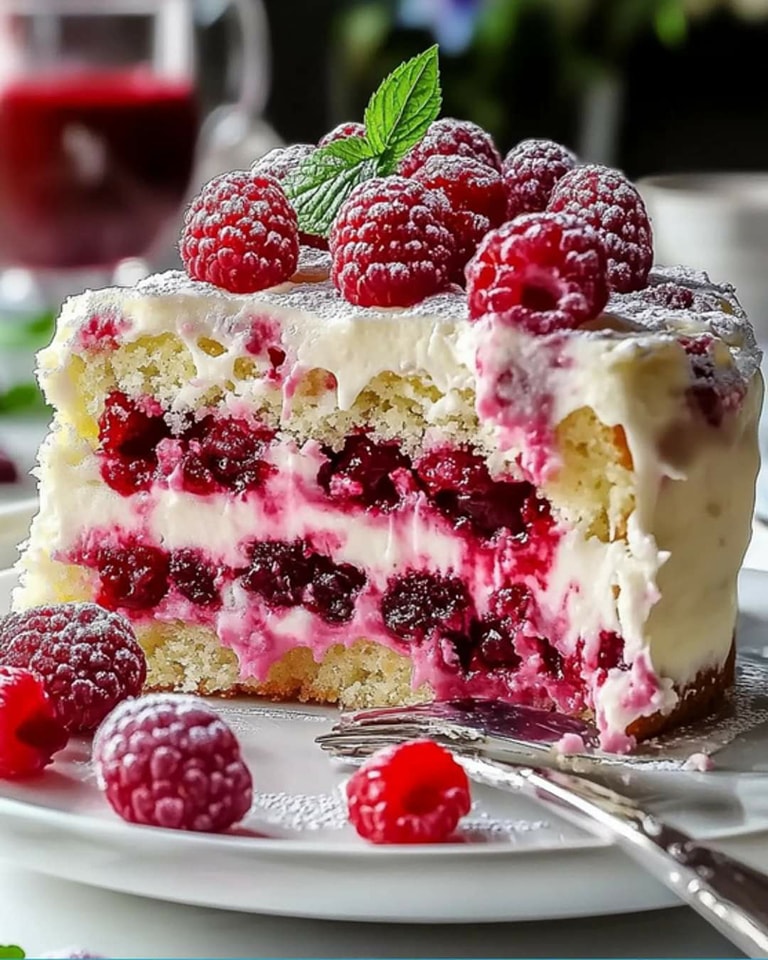
Decadent Strawberry Chocolate Fantasy Ice Cream Cake
If you’re searching for a show-stopping dessert that’s both easy-to-make and party-friendly, this Strawberry Chocolate Fantasy Ice Cream Cake is the perfect choice. Layers of rich chocolate cake, creamy strawberry ice cream, and a decadent chocolate ganache make this cake an irresistible treat for any gathering. Not only is it visually impressive, but it’s also straightforward to make, so you can wow your guests without the stress.
Ingredients and Equipment Needed
Ingredients
Cake Layers
- 2 cups all-purpose flour
- 2 cups granulated sugar
- 3/4 cup unsweetened cocoa powder
- 1 1/2 teaspoons baking powder
- 1 1/2 teaspoons baking soda
- 1 teaspoon salt
- 2 large eggs
- 1 cup whole milk
- 1/2 cup vegetable oil
- 2 teaspoons vanilla extract
- 1 cup boiling water
Ice Cream Layer
- 1.5 quarts strawberry ice cream, softened
Chocolate Ganache
- 1 cup heavy cream
- 12 oz semi-sweet chocolate chips
For Garnish
- Fresh strawberries, sliced
- Chocolate shavings
Equipment
- Two 9-inch round cake pans
- Mixing bowls
- Whisk or electric mixer
- Rubber spatula
- Saucepan for ganache
- Springform pan (optional for assembly)
- Freezer-safe plate or cake stand
Step-by-Step Preparation Guide
1. Bake the Chocolate Cake Layers
- Preheat the Oven: Start by preheating your oven to 350°F (175°C). Grease and line two 9-inch round cake pans with parchment paper for easy release.
- Prepare the Cake Batter: In a large mixing bowl, combine the flour, sugar, cocoa powder, baking powder, baking soda, and salt. In a separate bowl, whisk together the eggs, milk, vegetable oil, and vanilla extract. Slowly pour the wet ingredients into the dry mixture, stirring until smooth.
- Add Boiling Water: Carefully stir in the boiling water, which helps create a moist, tender cake. The batter will be thin, but that’s normal!
- Bake: Divide the batter evenly between the prepared pans. Bake for 30-35 minutes or until a toothpick inserted in the center comes out clean. Let the cakes cool completely.
2. Assemble the Cake with Ice Cream
- Soften the Ice Cream: While the cake cools, let the strawberry ice cream sit out for a few minutes until it’s easy to spread.
- Prepare the Layers: Place one cake layer on a freezer-safe plate or cake stand. Spread the softened strawberry ice cream evenly over the cake layer, then top with the second cake layer.
- Freeze: Place the cake in the freezer for at least 2 hours, or until the ice cream layer is firm.
3. Make the Chocolate Ganache
- Heat the Cream: In a small saucepan over medium heat, bring the heavy cream to a simmer, but do not let it boil.
- Add Chocolate Chips: Remove from heat and pour the cream over the chocolate chips in a separate bowl. Let it sit for a few minutes, then stir until smooth and glossy.
- Pour Over Cake: Once the cake is thoroughly frozen, pour the ganache over the top, allowing it to drip down the sides. Return to the freezer until set.
Optional Variations and Creative Additions
Add a twist to this decadent dessert with a few simple swaps and additions:
- Switch Up the Ice Cream Flavor: Try flavors like raspberry, mint chocolate chip, or even vanilla bean for a unique twist.
- Chocolate Crunch Layer: Add a thin layer of chocolate cookie crumbs between the cake and ice cream layers for an extra crunch.
- Add Berry Sauce: Drizzle a homemade or store-bought berry sauce over the ganache for added flavor and a pop of color.
- Nutty Garnish: Top with chopped almonds, hazelnuts, or pecans for extra texture.
These variations allow you to create a personalized ice cream cake that suits any taste preference!
Serving Tips
To get the best presentation and texture, consider these tips:
- Slice with a Warm Knife: Run a knife under hot water, wipe it dry, and then slice for clean cuts through the layers.
- Garnish Right Before Serving: Add fresh strawberries and chocolate shavings just before serving to keep them looking fresh and vibrant.
- Keep It Cold: Serve immediately from the freezer to prevent melting.
This cake is ideal for birthdays, holidays, or any special gathering, bringing a fun and refreshing twist to traditional cakes.
FAQs for Best Preparation and Storage Practices
Q: Can I make this cake in advance?
A: Yes! This cake can be made up to two days in advance. Just keep it tightly covered in the freezer until you’re ready to serve.
Q: How do I keep the ice cream from melting too quickly?
A: Make sure to freeze the cake for a minimum of 2 hours before adding the ganache. This ensures the ice cream is firm and doesn’t melt when you add the warm ganache.
Q: What’s the best way to store leftovers?
A: Wrap any leftover cake slices in plastic wrap and store in an airtight container in the freezer. It will keep well for up to one week.
Q: Can I use a store-bought cake mix for this recipe?
A: Absolutely! If you’re short on time, a store-bought chocolate cake mix can be used to simplify the process.
Conclusion: Why You’ll Love This Ice Cream Cake
This Strawberry Chocolate Fantasy Ice Cream Cake is everything you want in a dessert—decadent, delicious, and fun to make. Its easy-to-make nature and party-friendly presentation make it a crowd-pleaser at any event. The layers of chocolate cake, creamy strawberry ice cream, and rich ganache create a flavor combination that’s truly unforgettable. Try this recipe, and watch it become a favorite go-to treat for all your celebrations!
